| Shooting the Shotgun is the term used as a
resolution to, what I thought, was a very terrible problem that happened to my Max. I
hope these instructions will aid someone in curing their own Max of
this horrible ailment, should it unfortunately happen. This
problem seems to be common. |
|
|
| Let me also add that this problem did not progressively
get worse. It happened all at once, which made me think something
else (ignition system) may have been wrong. |
|
Symptoms:
Max ran like dog doo doo. Would run ok with choke
on, but if you cut the choke off, it would seem like three cylinders
running. Almost like a bad plug
condition. A check of the plugs revealed maybe one fuel fowled plug. Changed the
plugs and the problem still existed.
The bike made a lot of noise, but had no Cajones. I
could have been passed by a slug.
It would often go SNAP, CRACKLE, POP right off of idle,
but get her up in the RPMs @ WFO and it would seem uhh...ok. What
had happened was a plugged circuit in my carburetor(s). |
| |
|
|
Cure: |
| You are going to need: |
 |
Phillips
head #2 screw driver. |
|
Medium
to small standard screw driver. |
|
Shop
rags |
|
Gas
collection container. Glass jar? |
|
4mm
Allen wrench |
|
100+
pounds of air pressure with a good tip |
|
can
of carburetor cleaner with red straw |
|
can
of WD40 |
|
| Things to remember: |
|
Keep
all parts with their respective carb body. |
|
If
you're going to smoke while doing this, lower your deductible! |
|
|

|
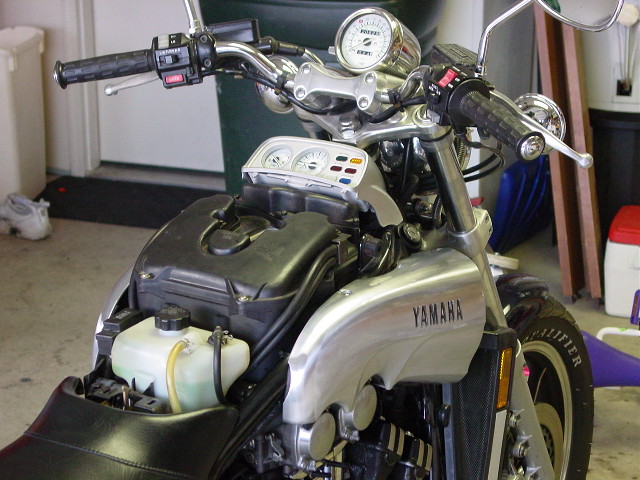
Remove the faux tank and the scoops. It just makes things
easier.
|
|

|
Remove the air cleaner cover. There
are 6 bolts for the cover and two for the carburetor overflow
tubes. You'll have to remove at least one set to get the cover
off. Point the hoses in a safe direction. Gas may erupt from
them during this process. |
|

|
After you remove the cover, remove the air filter for
better access. You can remove the air filter housing if you wish,
but it is not necessary. I removed mine completely. |
|

|
The next step is to drain the fuel bowls. Locate
the drain screw for the carb you are working on. You will have to
drain all four individually. |
|

|
Get yourself an approved container. *Draining the bowls is optional, but I
always look to see if I pulled any
crap from the fuel tank or had sediment in there. You'll need to
dispose of that possibly contaminated fuel properly. *Be sure to close
the screw when done draining. |
 |
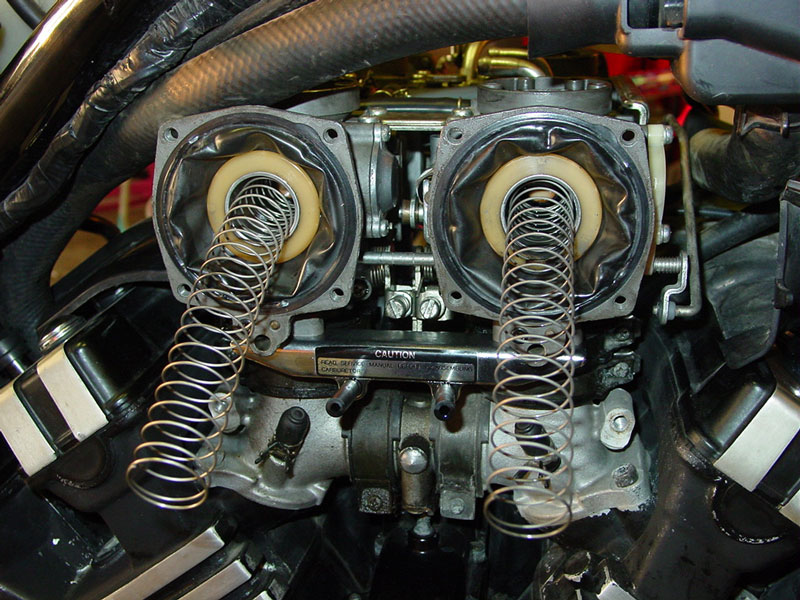
Next, remove the four screws per carb over the slide and
diaphragm. Be careful, there's a big spring under there, but not a
lot of tension. Your carbs may need a special Torx bit to remove
the one tamper resistant fastener per carb. (This bit can be
bought about anywhere. If all else fails, use vice grips and
replace all the screws with stainless socket Allen heads)
*Pay attention and keep all parts off of one carburetor with that
same carb! |
 |
Then you have to remove the spring. Put them in a
safe place, cause you're going to need them later. |
 |
Carefully remove the slide. I pull from the center
of the slide and be sure the outer rim of the diaphragm will detach
safely from the carb body. You may want to loosen the rim first,
then slide the assembly out. |
 |
What you want to pay attention to here are three things.
1. This o-ring. Don't Lose It! Mine didn't fall
out, but keep an eye on them or remove them for safe keeping.
2. Idle mixture screw. Screw it in and count the turns in 1/8
turn graduations until it gently seats. I said gently! Write
down the number of turns on paper.
Now screw it all the way
out. You won't be able to get this out with your screw driver. But
we'll get it out next.
3. This is PAJ2 or Pilot Air Jet #2 |
|

|
We need to identify just two more things.
Green arrows identify your PAJ1 or Pilot Air Jet 1
Blue arrows identify the Main Jet Air Bleed.
|
 |
Fuel will erupt primarily from the needle jet pictured
here.
To remove your idle mixture screws, hold your thumb over half of the
mixture screw hole opening, and out about 2 mm.
Direct a blast of air down PAJ1.
If the mixture screw was backed out enough off of the threads, it
will hit your thumb and stop, allowing you to grab a hold of it for
removal.
You should get the screw, a spring a small washer and an
o-ring. If you don't get the o-ring, try putting the red carb
cleaner straw down the hole and blast more air down PAJ1.
Be sure the idle screws are in good shape and clean. Be gentle
with them and check for any wear or damage from being bottomed out hard. Replace if needed.
Shoot some carburetor cleaner using the red tip down the Main Jet Air
Bleeds and through the carb mixture screw opening. Get them
good! The condition of the mixture screw is a good indication of
what the idle adjustment circuit looks like.
Blow air through PAJ1 and PAJ2.
Rinse, Repeat. |
| |
I reassembled the diaphragms and idle mixture screws only
and left the air cleaner off.
Put your idle adjustment screws back in all the way GENTLY, and back
them out the number of turns recorded earlier.
When reassembling the slide diaphragms, clean them with WD40 before
reinstalling.
I tested my results before zipping the patient up. |
| |
I know it sounds pretty simple, but this disease can
attack a Vmax
without prior warning. |
|
I make no warranties as to the accuracy
of this information. This may or may not work for you. If
you have any doubt, seek a trained Yamaha service professional. |